Whale Shark Snorkeling in Dhigurah: What to Expect on a Maldives Tour
/Chasing Whale Sharks in the Maldives: A Dhigurah Snorkeling Experience
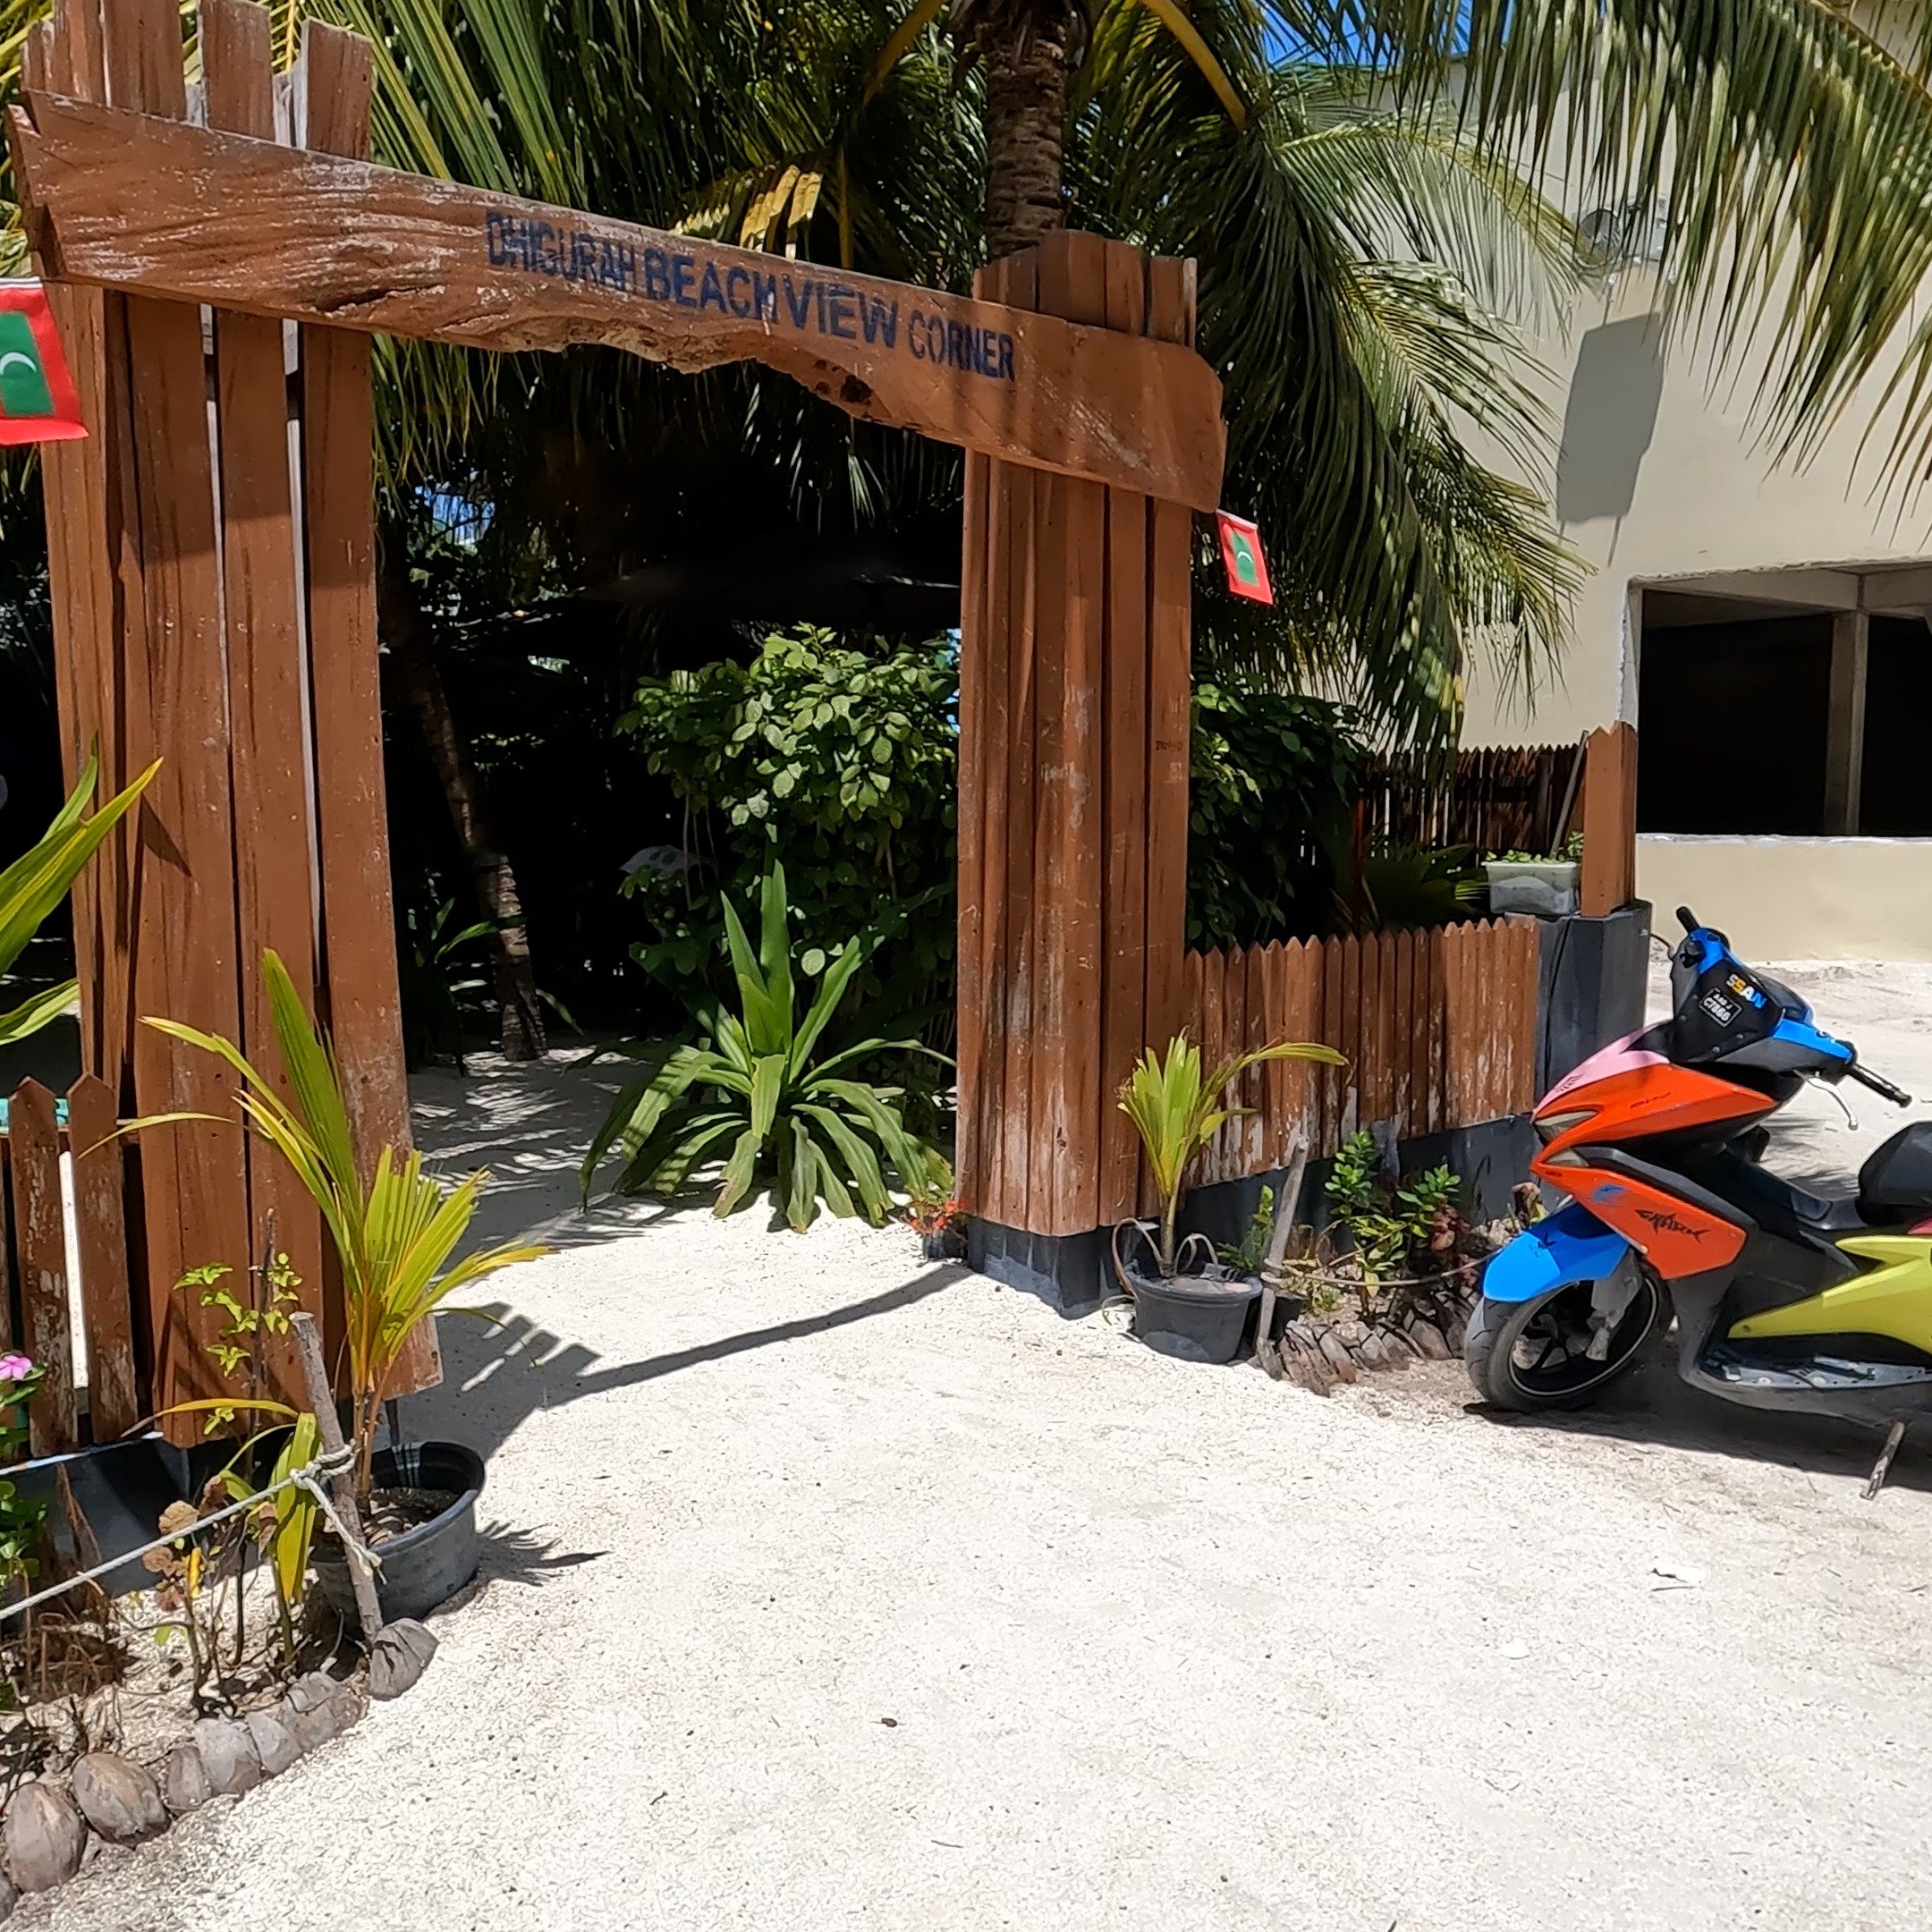
After visiting the Dhigurah Sandbank yesterday, we were still shocked by its beauty. Today, we will have another famous tour people come to Dhigurah to check off their bucket list.
Dhigurah is one of the Maldives’ most reliable spots for encountering whale sharks. Here you have more chances of encountering these gentle giants than anywhere else on Earth.
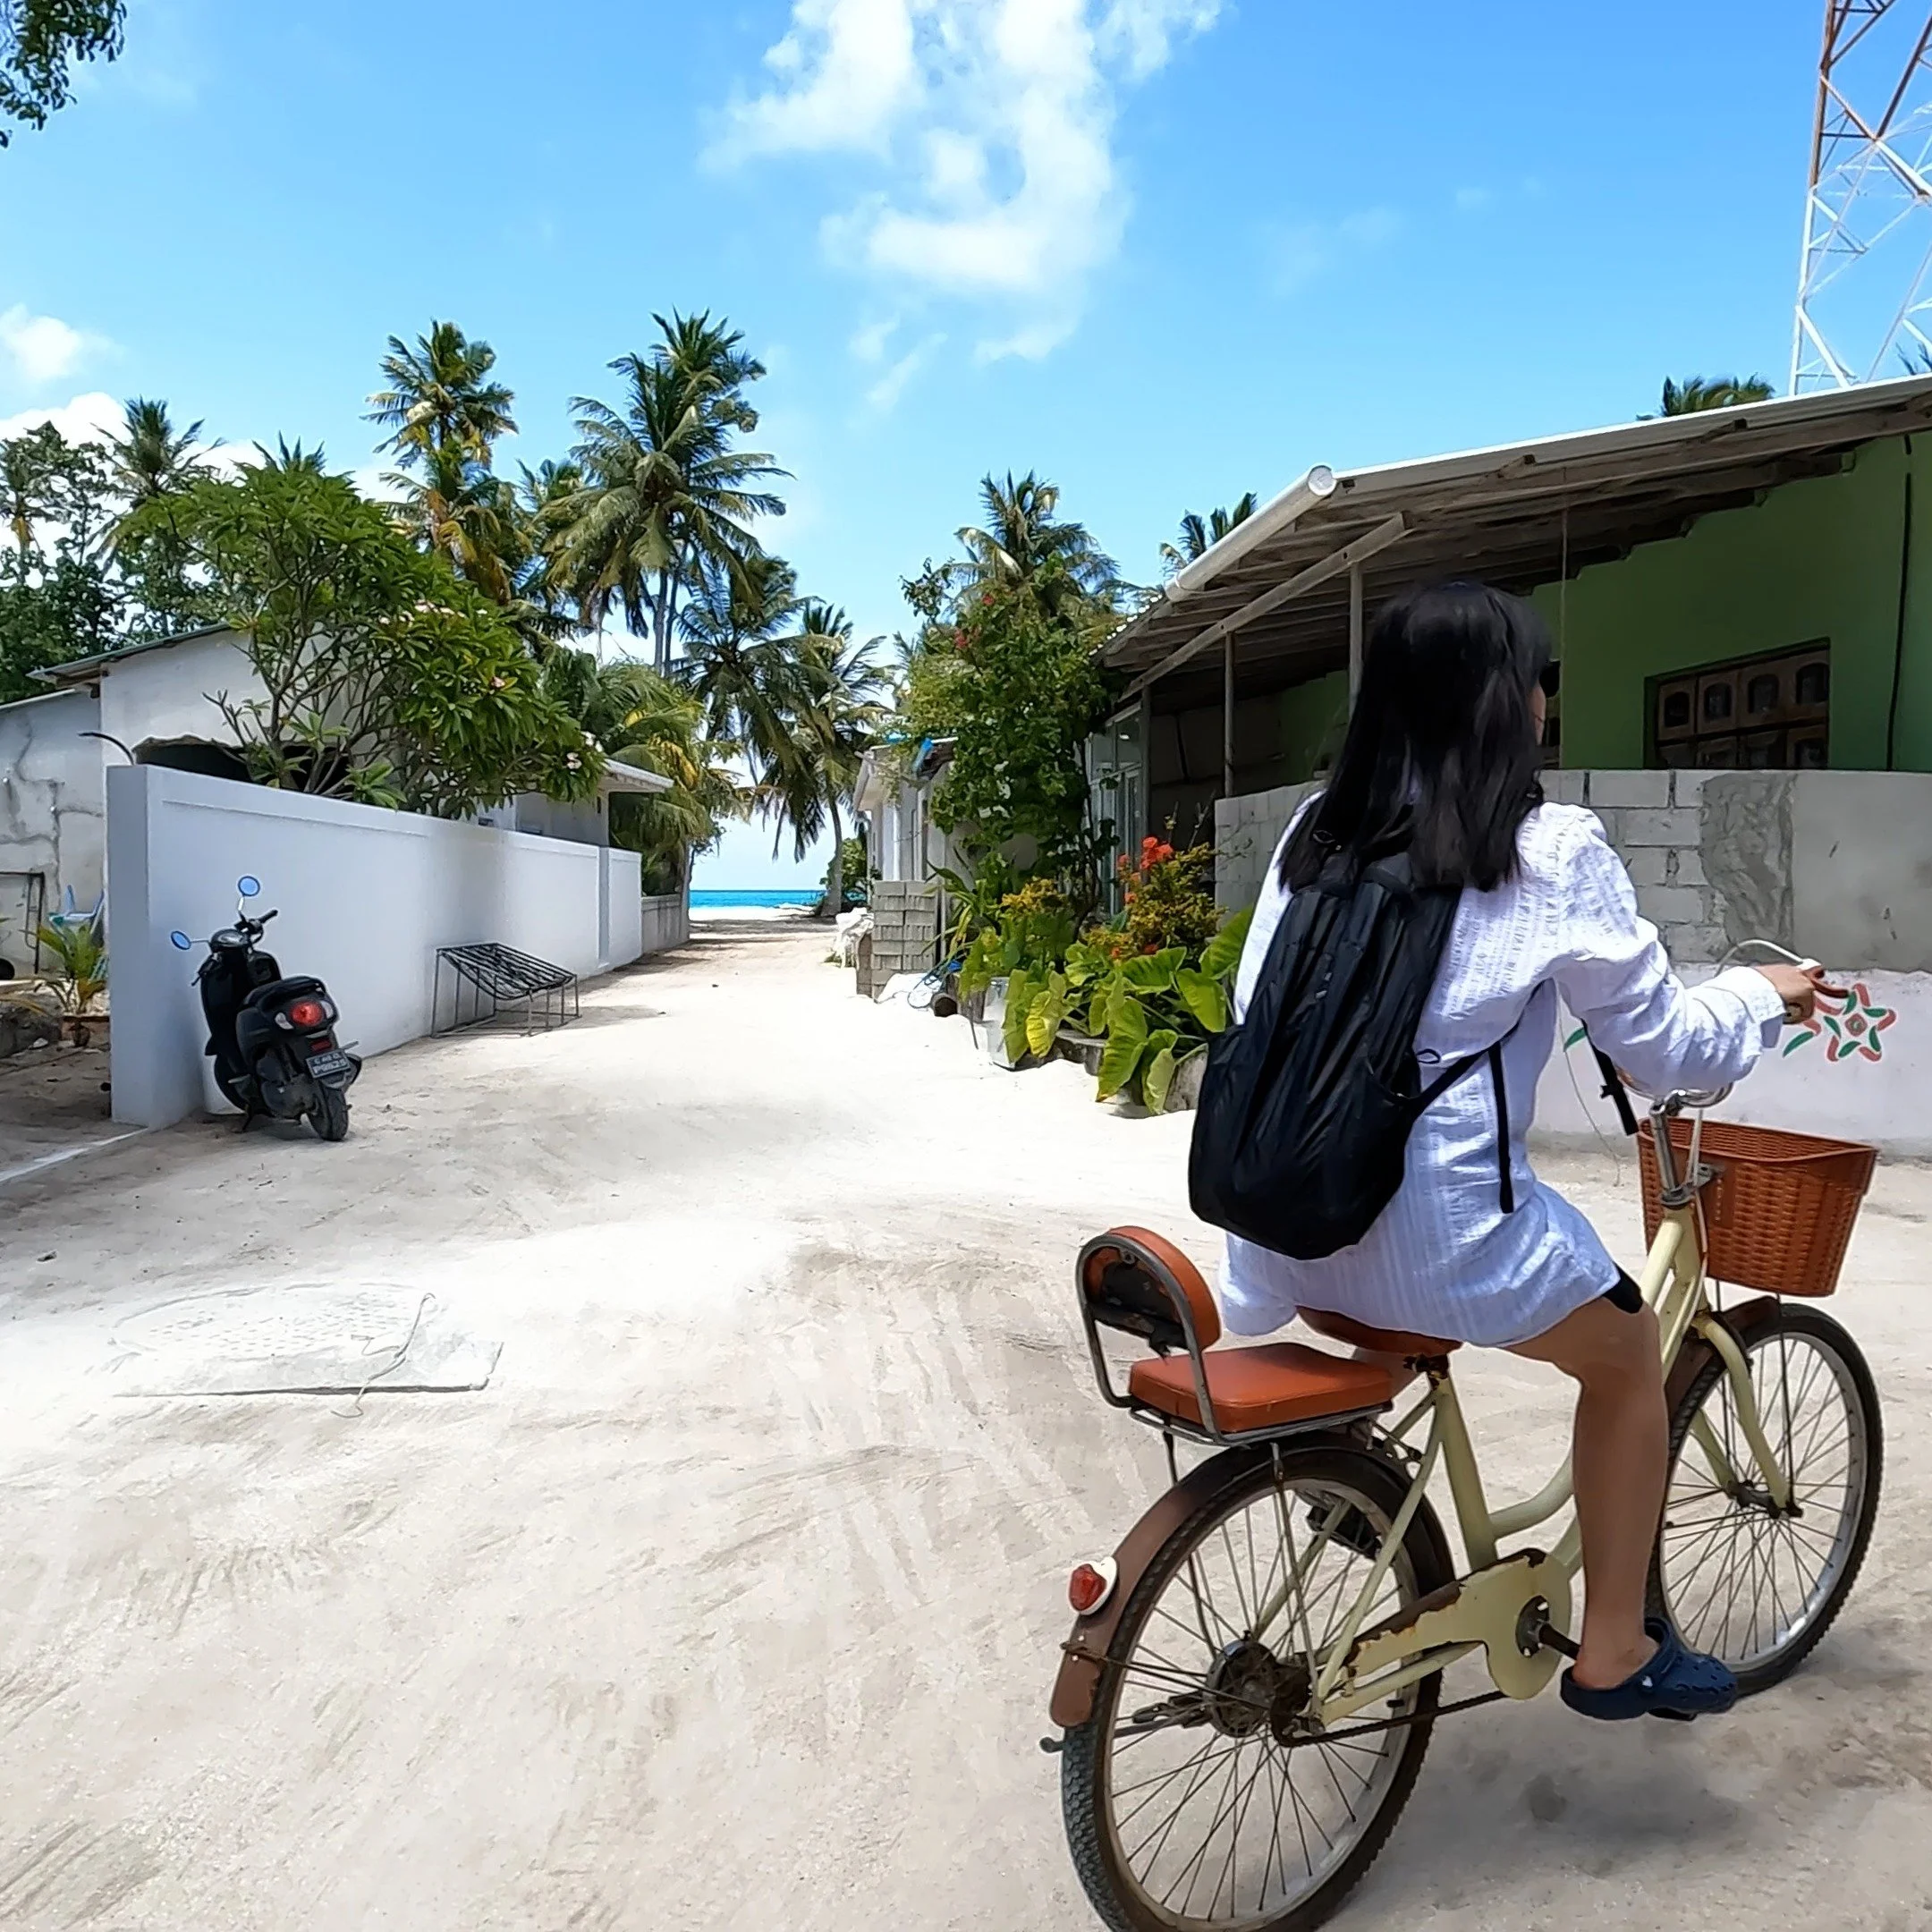
At the start of our journey, Walking Lady and I boarded a small electric van (Dhigurah has no cars or anything powered by fossil fuel) with our snorkeling gear and headed toward the harbor.
At the dock, we left our sandals behind —and stepped onto the excursion boat. The turquoise water was already glowing as the crew handed out life vests and snorkel masks. We didn’t know know how to use the gear, but the tour guys showed us and helped everyone get ready.
Once we left the harbor, the boat picked up speed and the crew launched a drone to scan the water for whale sharks. Whale sharks move constantly, so aerial scouting dramatically increases the chance of a sighting as their shadow is visible from up above. While waiting, schools of bright green fish gathered around the boat. There were many of them shimmering beneath us.
When the drone finally spotted something, the energy on the boat changed instantly. The crew shouted, “Jump fast, jump fast… look down and go!” and everyone entered the water quickly. Looking straight down through the clear blue revealed the unforgettable sight of a massive whale shark gliding just below the surface.
Dhigurah offers one of the Maldives’ most thrilling marine experiences—fast‑paced, humbling, and absolutely worth the adventure.
You can watch the full video below to see the whale shark and the full experience: